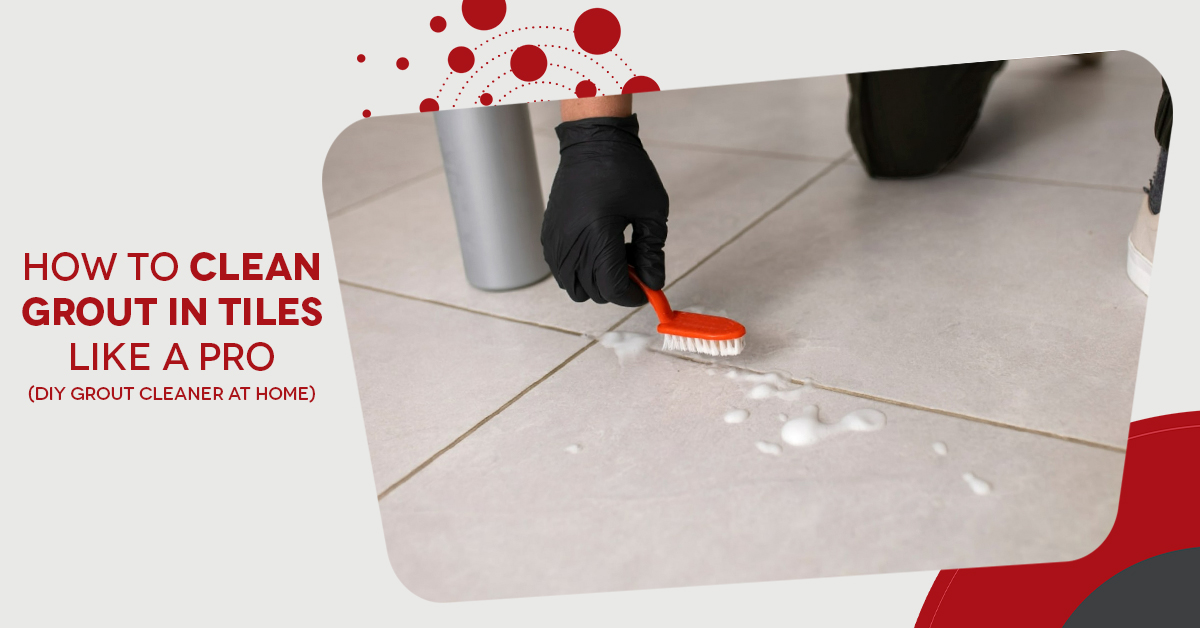
Tiles always look great when they’re clean — but the grout between them? That’s where dirt loves to hide. Grout is the material that fills the gaps between tiles, and because it’s porous (meaning it has tiny holes), it easily soaks up water, dirt, and stains. Over time, it can look dark, stained, or even mouldy — making your whole floor or wall look dirty.
The good news? You don’t need expensive cleaners or fancy equipment to fix it. In this blog, I’ll show you how to clean grout safely and effectively using simple ingredients you probably already have at home. These easy DIY grout cleaning methods will help restore the fresh, clean look of your tiles — just like a pro!
Let’s get started and bring that fresh, clean look back to your tiles!
Tools and Ingredients You’ll Need for DIY Grout Cleaning
Before diving into the methods, gather the following items. Don’t worry — you won’t need to use all of them at once. Each method in this guide uses a different mix of these tools and ingredients, depending on the type of grout cleaning you’re doing (light stains, heavy-duty, everyday grime, or regular maintenance).
Most of these are common household products you probably already have at home:
- Baking soda – A gentle abrasive that helps lift dirt and stains
- Hydrogen peroxide – A natural bleaching agent that kills bacteria and whitens grout
- White vinegar – Useful for breaking down mineral buildup (avoid on natural stone)
- Water – Helps dilute ingredients
- Old toothbrush or scrub brush – For precision scrubbing
- Sponge or microfibre cloth – For wiping away residue
- Gloves – Protect your hands during scrubbing
- Spray bottle(optional) – Makes applying solutions easier
- Bowl or container – To mix your cleaning paste
Safety Tip: Make sure to work somewhere with good airflow, especially when you’re using vinegar or hydrogen peroxide. Do not mix vinegar and hydrogen peroxide together because that can be dangerous — use each one separately.
Methods: How to Clean Grout in Tiles Like a Pro
Method 1: Baking Soda and Water Paste
Best for: Light stains and regular maintenance
What You Need:
- 1 part baking soda
- 1 part water
Instructions:
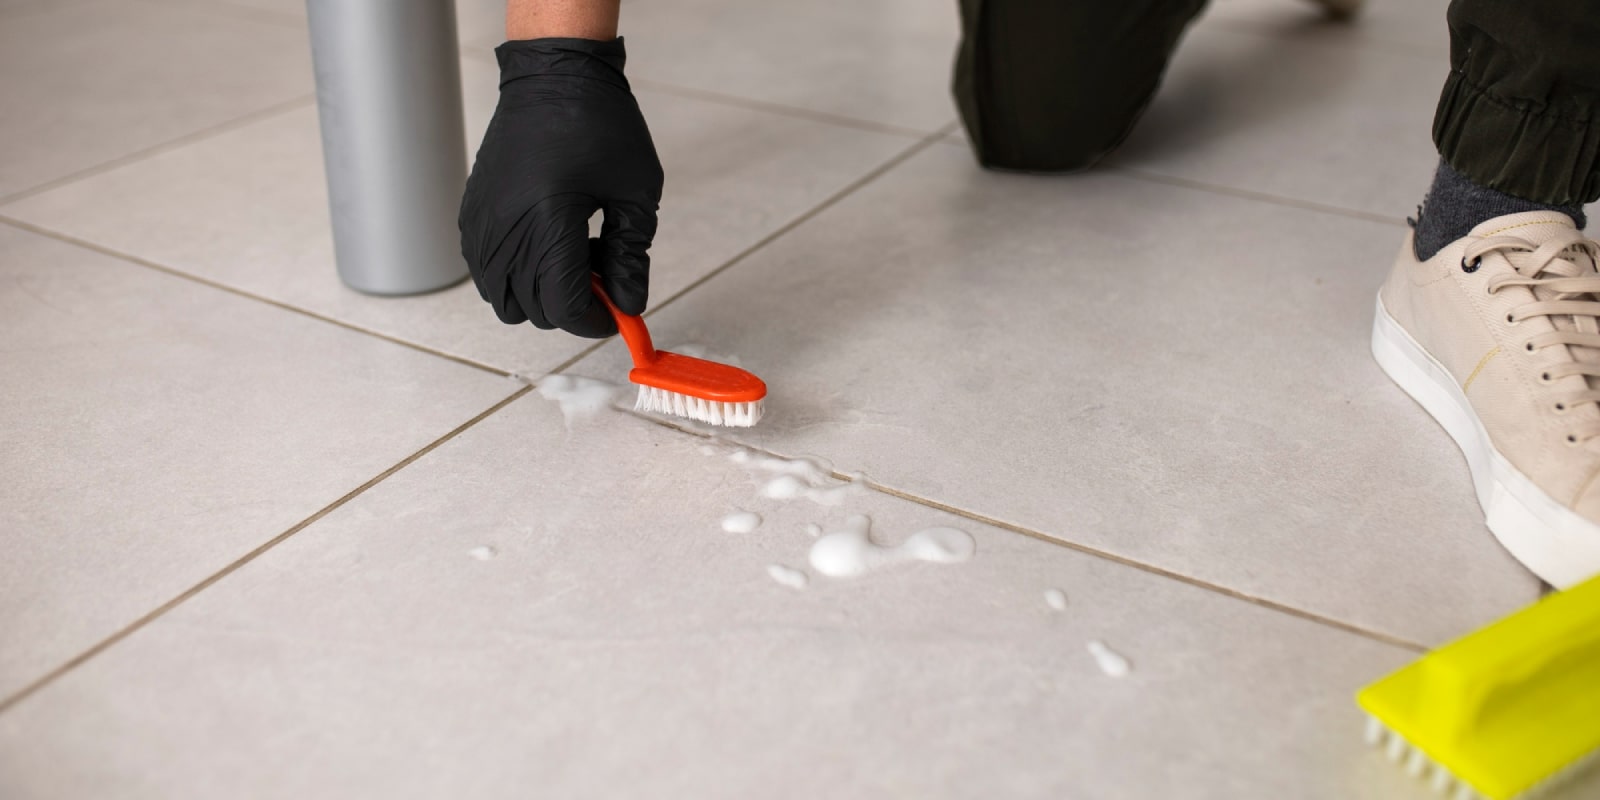
- Make the paste: Combine baking soda and water in a bowl to form a thick paste similar to toothpaste.
- Apply it: Use a toothbrush to spread the paste thoroughly along the grout lines.
- Let it sit: Wait 10–15 minutes. This allows the baking soda to loosen dirt and grime.
- Scrub gently: Use a circular motion to scrub the grout. Don’t press too hard—you want to clean the grout, not erode it.
- Rinse and dry: Remove the paste by wiping the surface with a damp cloth. Then, dry with a towel to prevent mould from forming.
Method 2: Baking Soda + Hydrogen Peroxide (The Heavy-Duty Winner)
Best for: Tough stains, yellowing, and mildew in high-moisture areas like bathrooms
What You Need:
- 1 part baking soda
- 1 part hydrogen peroxide (3% solution)
Instructions:
- Mix it up: Combine baking soda and hydrogen peroxide to make a bubbly, slightly runny paste.
- Apply the paste: Spread it directly onto the grout using a toothbrush or your fingers with gloves on.
- Let it sit: Allow the mixture to work for 10–20 minutes to activate its cleaning power.
- Scrub thoroughly: Focus on tough spots with a scrub brush or stiff toothbrush. Use short, firm strokes.
- Rinse well: Wipe away the paste using a wet cloth or rinse with warm water.
- Dry it off: Pat dry with a clean towel so it stays dry and mould doesn’t come back.
Pro tip: Hydrogen peroxide not only cleans but also naturally disinfects and whitens grout without harsh chemicals, making it one of the best ways to clean grout.
Method 3: Vinegar and Warm Water Solution
Best for: Everyday grime and surface-level dirt
What You Need:
- 1 part white vinegar
- 1 part warm water
- Spray bottle
Instructions:
- Mix the solution: Pour equal parts white vinegar and warm water into a spray bottle.
- Spray generously: Spray the solution on the grout lines.
- Let it soak: Wait 5–10 minutes to loosen dirt and soap scum.
- Scrub lightly: Use a toothbrush to scrub along the grout lines.
- Wipe clean: Use a damp cloth to wipe away residue.
- Dry completely: This helps prevent mould or mildew from forming.
Note: Do not use vinegar on natural stone tiles like marble or limestone—it can damage the finish. But for ceramic or porcelain tiles, this solution is an excellent homemade grout cleaner.
Method 4: Dish Soap and Warm Water
Best for: Light cleaning, regular maintenance, and safe use on most surfaces
What You Need:
- A few drops of dish soap
- A bowl of warm water
Instructions:
- Create soapy water: Add a few drops of dish soap into warm water and mix.
- Dip your brush: Soak a toothbrush or scrub brush in the solution.
- Scrub the grout: Focus on dirty lines and rinse your brush frequently.
- Wipe clean: Wipe the grout clean with a damp cloth.
- Dry well: Dry the grout with a towel to stop water from soaking in.
Gentle and non-toxic, this method is great for regular grout cleaning in homes with kids or pets.
Tips for Maintaining Clean Grout
Once your grout is sparkling, you’ll want to keep it that way.
Here’s how:
- Clean grout once a month in high-use areas like kitchens and showers.
- For low-traffic areas, clean 2–3 times a year.
- After cleaning, you can apply a grout sealer (available at hardware stores) to prevent future staining and make cleaning easier.
- Mop or wipe tiles regularly to avoid buildup.
- Avoid using too much soap or detergent on tiled floors — it leaves a film that attracts dirt.
What NOT to Use on Grout (And Why)
Avoid these common household products when cleaning grout:
- Bleach: While it seems effective, it’s too harsh. Over time, it breaks down grout, weakens the bond with tiles, and can leave a film that attracts dirt.
- Ammonia: Can irritate your lungs and damage grout.
- Toilet bowl cleaners: These products often contain bleach or acids that can damage grout and leave stains on tiles.
Remember: Grout is porous and delicate, so overly harsh chemicals cause more harm than good.
Bonus: Homemade Grout Cleaner Recipes for Different Needs
Here are a few quick DIY grout cleaner recipes for different types of grout problems:
- For Deep Stains:
- 2 tablespoons baking soda
- 1 tablespoon hydrogen peroxide
- 1 teaspoon dish soap
- For Mould and Mildew:
- Equal parts of white vinegar and water
- Spray on grout, let it sit for 10 minutes, scrub, then rinse
- For Natural Stone Tiles:
- Avoid vinegar
- Use a paste of baking soda and water only
- For Quick Spot Cleaning:
- A paste made from lemon juice and baking soda.
These natural cleaners are budget-friendly and safe when used properly.
DIY Grout Care Tips
Cleaning grout doesn’t have to be a hard chore. With some common household ingredients like baking soda and hydrogen peroxide, plus a bit of effort, your grout can look nearly brand new.
Remember, the key is patience, proper technique, and knowing what to avoid. Whether you’re doing regular maintenance or tackling years of dirt, these DIY grout cleaning tips will help you clean like a pro.
When to Consider Professional Grout Cleaning or Regrouting
DIY grout cleaning works wonders for most people, but sometimes it’s not enough.
Signs you need professional help:
- Your grout is falling apart or missing in spots
- Deep stains that don’t respond to homemade grout cleaners
- Mould keeps coming back even after you clean
Benefits of hiring professionals:
- Heavy-duty equipment gets deeper into the grout
- Steam cleaning or high-pressure tools restore original colour
- They can also fix grout that’s damaged or put new grout in if needed.
Sometimes, calling in experts is the safest and most effective way to restore your tiles and grout — especially if the damage is beyond what home cleaning can fix.
Need Help with Grout Cleaning?
If grout cleaning feels too time-consuming or overwhelming, don’t worry — experts at Brisbane Commercial Cleaning and Pest Control are here to help. We bring professional tools, years of experience, and muscle to make your tiles and grout look great again.
Contact us today and let us do the hard work, so you can enjoy a cleaner, fresher home without the stress.
About the Author
Matt
Matt has over 15 years of experience in cleaning and pest management, and is a licensed pest control expert. He is passionate about helping homeowners and businesses keep their spaces safe, clean, and pest-free. Matt shares practical tips and expert advice to make cleaning and pest control simple and effective for everyone.